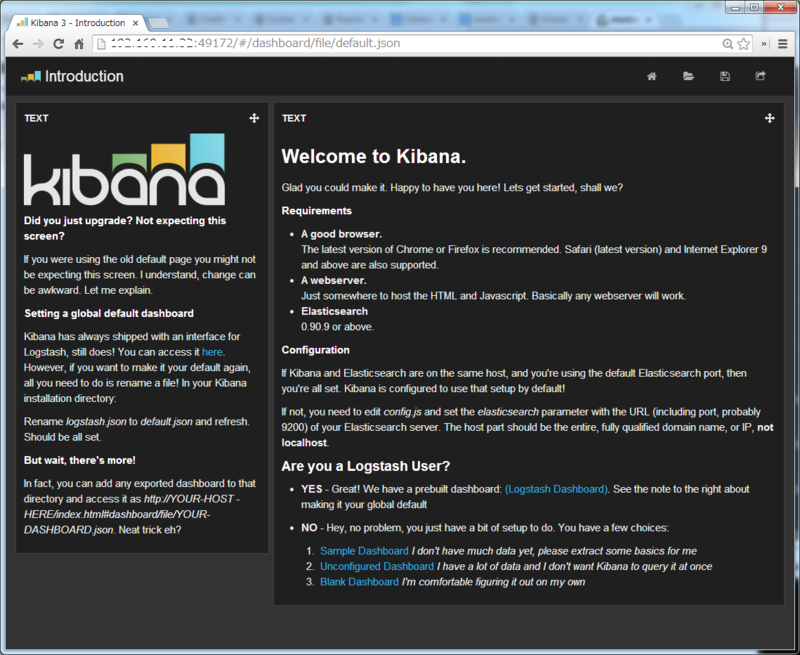
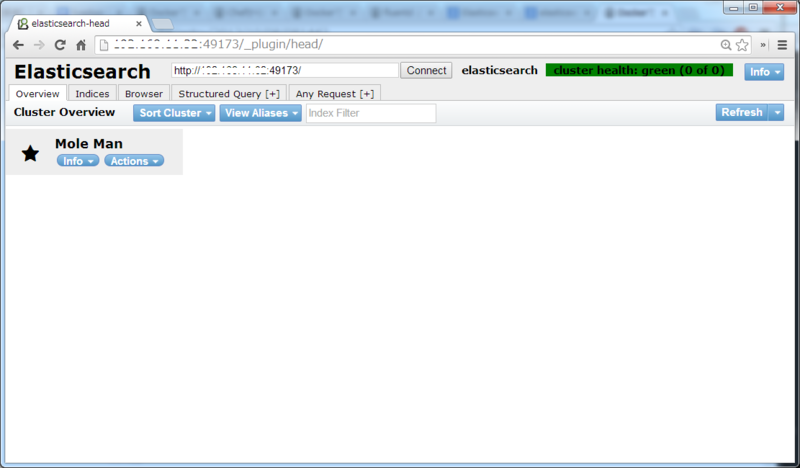
前回、sensuでDockerコンテナを監視することができたため、今回はDockerコンテナの監視を可視化するための前段階として、最近注目されているサーチエンジンであるElasticsearchを起動するDockerfileを書いてみました。また、Elasticsearchのフロントエンドを提供するKibanaも合わせてインストールします。
Dockerfile
Dockerfileの構成
Dockerfileの構成は以下の通りです。
elasticsearch
├──Dockerfile
├──id_rsa.pub            ... 公開鍵
├──sources.list          ... ミラーサイト一覧
├──config.js             ... Kibanaの定義ファイル
├──default.conf          ... nginxの定義ファイル
├──elasticsearch.conf    ... supervisorの定義ファイル(Elasticsearch用)
├──nginx.conf       ... supervisorの定義ファイル(nginx用)
└──supervisord.conf    ... supervisorの定義ファイル
Dockerfile
Dockerfileを以下のように作成します。
$ mkdir -p docker/elasticsearch
$ cd docker/elasticsearch
$ vi Dockerfile
FROM ubuntu:12.04

MAINTAINER hidemium

# Ubuntu update
ADD sources.list /etc/apt/sources.list
RUN apt-get -y update

# Install ssh
RUN apt-get -y install openssh-server
RUN apt-get -y install python-setuptools
RUN apt-get clean
RUN easy_install supervisor

RUN mkdir /var/run/sshd
RUN echo 'root:root' | chpasswd

# config sshd
ADD id_rsa.pub /root/id_rsa.pub
RUN mkdir /root/.ssh/
RUN mv /root/id_rsa.pub /root/.ssh/authorized_keys
RUN chmod 700 /root/.ssh
RUN chmod 600 /root/.ssh/authorized_keys
RUN sed -i -e '/^UsePAM\s\+yes/d' /etc/ssh/sshd_config

# config supervisor
RUN mkdir -p /var/log/supervisor
RUN mkdir -p /etc/supervisor/conf.d/
ADD supervisord.conf /etc/supervisord.conf

# Install Java
RUN apt-get install -y python-software-properties debconf-utils
RUN add-apt-repository ppa:webupd8team/java
RUN apt-get update
RUN echo "oracle-java7-installer shared/accepted-oracle-license-v1-1 boolean true" | debconf-set-selections
ENV DEBIAN_FRONTEND noninteractive
RUN apt-get install -y oracle-java7-installer

# Install Elasticsearch
RUN apt-get install -y curl
RUN curl http://packages.elasticsearch.org/GPG-KEY-elasticsearch | apt-key add -
RUN echo "deb http://packages.elasticsearch.org/elasticsearch/1.2/debian stable main" >> /etc/apt/sources.list.d/elasticsearch.list
RUN apt-get update
RUN apt-get install -y elasticsearch
RUN /usr/share/elasticsearch/bin/plugin -install mobz/elasticsearch-head
ADD elasticsearch.conf /etc/supervisor/conf.d/elasticsearch.conf

# Install Kibana
RUN apt-get install -y unzip
RUN wget http://download.elasticsearch.org/kibana/kibana/kibana-latest.zip
RUN unzip kibana-latest.zip
RUN mv kibana-latest /usr/local/kibana
ADD config.js /usr/local/kibana/config.js

# Install Nginx
RUN echo "deb http://nginx.org/packages/ubuntu/ precise nginx" >> /etc/apt/sources.list.d/nginx.list
RUN echo "deb-src http://nginx.org/packages/ubuntu/ precise nginx" >> /etc/apt/sources.list.d/nginx.list
RUN curl http://nginx.org/keys/nginx_signing.key | apt-key add -
RUN apt-get update
RUN apt-get install -y nginx
ADD nginx.conf /etc/supervisor/conf.d/nginx.conf
ADD default.conf /etc/nginx/conf.d/default.conf

# Expose ports.
EXPOSE 22 80 9200 9300

# Define default command.
CMD ["supervisord", "-n"]
- 「RUN echo "oracle-java7-installer shared/accepted-oracle-..」と「ENV DEBIAN_FRONTEND noninteractive」は、Javaのライセンス承諾画面を飛ばすためにやっています。
- 「RUN /usr/share/elasticsearch/bin/plugin -install mobz/elasticsearch-head」は、 elasticsearch-headを使用できるようにプラグインをインストールしています。
Dockerfileの中で、読み込みを行っているファイルは以下の通りです。
sources.list
日本のミラーサイトを指定しています。
$ cat sources.list
deb http://jp.archive.ubuntu.com/ubuntu precise main restricted
deb-src http://jp.archive.ubuntu.com/ubuntu precise main restricted
deb http://jp.archive.ubuntu.com/ubuntu precise-updates main restricted
deb-src http://jp.archive.ubuntu.com/ubuntu precise-updates main restricted
config.js
Kibanaのconfig.jsを環境に合わせて修正しています。
$ cat config.js
:
    /*
    elasticsearch: "http://"+window.location.hostname+":9200",
     */
    elasticsearch: "http://<IPアドレス>:9200",
:
default.conf
kibanaにアクセスできるように、nginxのdefault.confを修正しています。
$ cat default.conf
:
    #location / {
    #    root   /usr/share/nginx/html;
    #    index  index.html index.htm;
    #}

    location / {
        root   /usr/local/kibana/;
        index  index.html index.htm;
    }
:
supervisord.conf
supervisorの設定とsshdの起動を定義しています。
$ cat supervisord.conf
[unix_http_server]
file=/tmp/supervisor.sock   ; (the path to the socket file)

[supervisord]
logfile=/tmp/supervisord.log ; (main log file;default $CWD/supervisord.log)
logfile_maxbytes=50MB        ; (max main logfile bytes b4 rotation;default 50MB)
logfile_backups=10           ; (num of main logfile rotation backups;default 10)
loglevel=info                ; (log level;default info; others: debug,warn,trace)
pidfile=/tmp/supervisord.pid ; (supervisord pidfile;default supervisord.pid)
nodaemon=false               ; (start in foreground if true;default false)
minfds=1024                  ; (min. avail startup file descriptors;default 1024)
minprocs=200                 ; (min. avail process descriptors;default 200)

[rpcinterface:supervisor]
supervisor.rpcinterface_factory = supervisor.rpcinterface:make_main_rpcinterface

[supervisorctl]
serverurl=unix:///tmp/supervisor.sock ; use a unix:// URL  for a unix socket

[include]
files = /etc/supervisor/conf.d/*.conf

[program:sshd]
command=/usr/sbin/sshd -D
autostart=true
autorestart=true
elasticsearch.conf
Elasticsearchの起動を定義しています。
$ cat elasticsearch.conf
[program:elasticsearch]
command=/usr/share/elasticsearch/bin/elasticsearch -f
autostart=true
autorestart=true
nginx.conf
Nginxの起動を定義しています。
$ cat nginx.conf
[program:nginx]
command=/usr/sbin/nginx -c /etc/nginx/nginx.conf
autostart=true
autorestart=tru
Elasticsearchコンテナの起動
以下のコマンドで、Dockerfileからビルドし、Dockerコンテナの起動を行います。
$ sudo docker build -t ubuntu-elasticsearch:12.04 .
$ sudo docker run -d -p 22 -p 80 -p 9200:9200 -p 9300:9300 ubuntu-elasticsearch:12.04
Dockerコンテナの80番ポートにフォワードしているポート番号を確認します。
$ sudo docker port <コンテナID> 80
0.0.0.0:<ポート番号>
「http://<サーバのIPアドレス>:<ポート番号>」にアクセスし、Kibanaに接続できることを確認します。

また、「http://<サーバのIPアドレス>:9200/_plugin/head」にアクセスし、 elasticsearch-headに接続できることを確認します。
